
I managed to get the lighting back in order, but to replace the hood again, I failed hopelessly.
The silicone was cured sooner than I was done with reinstalling the bolts … with the result that the latter bolts didn’t fit, because the hood was gone crooked.
Therefore my advice: do not buy an old used Quest if you are not a contortionist … Next time I will have my Quest maintained by Velomobiel.nl in Dronten (Netherlands).
I will have to re-open the hood (when I find some time) and reassemble it again …

3 reacties op “low maintenance means that it is difficult to repair”
I read that it is best to let the silicone set completely before fitting so that it is more of a gasket than a glue.
LikeLike
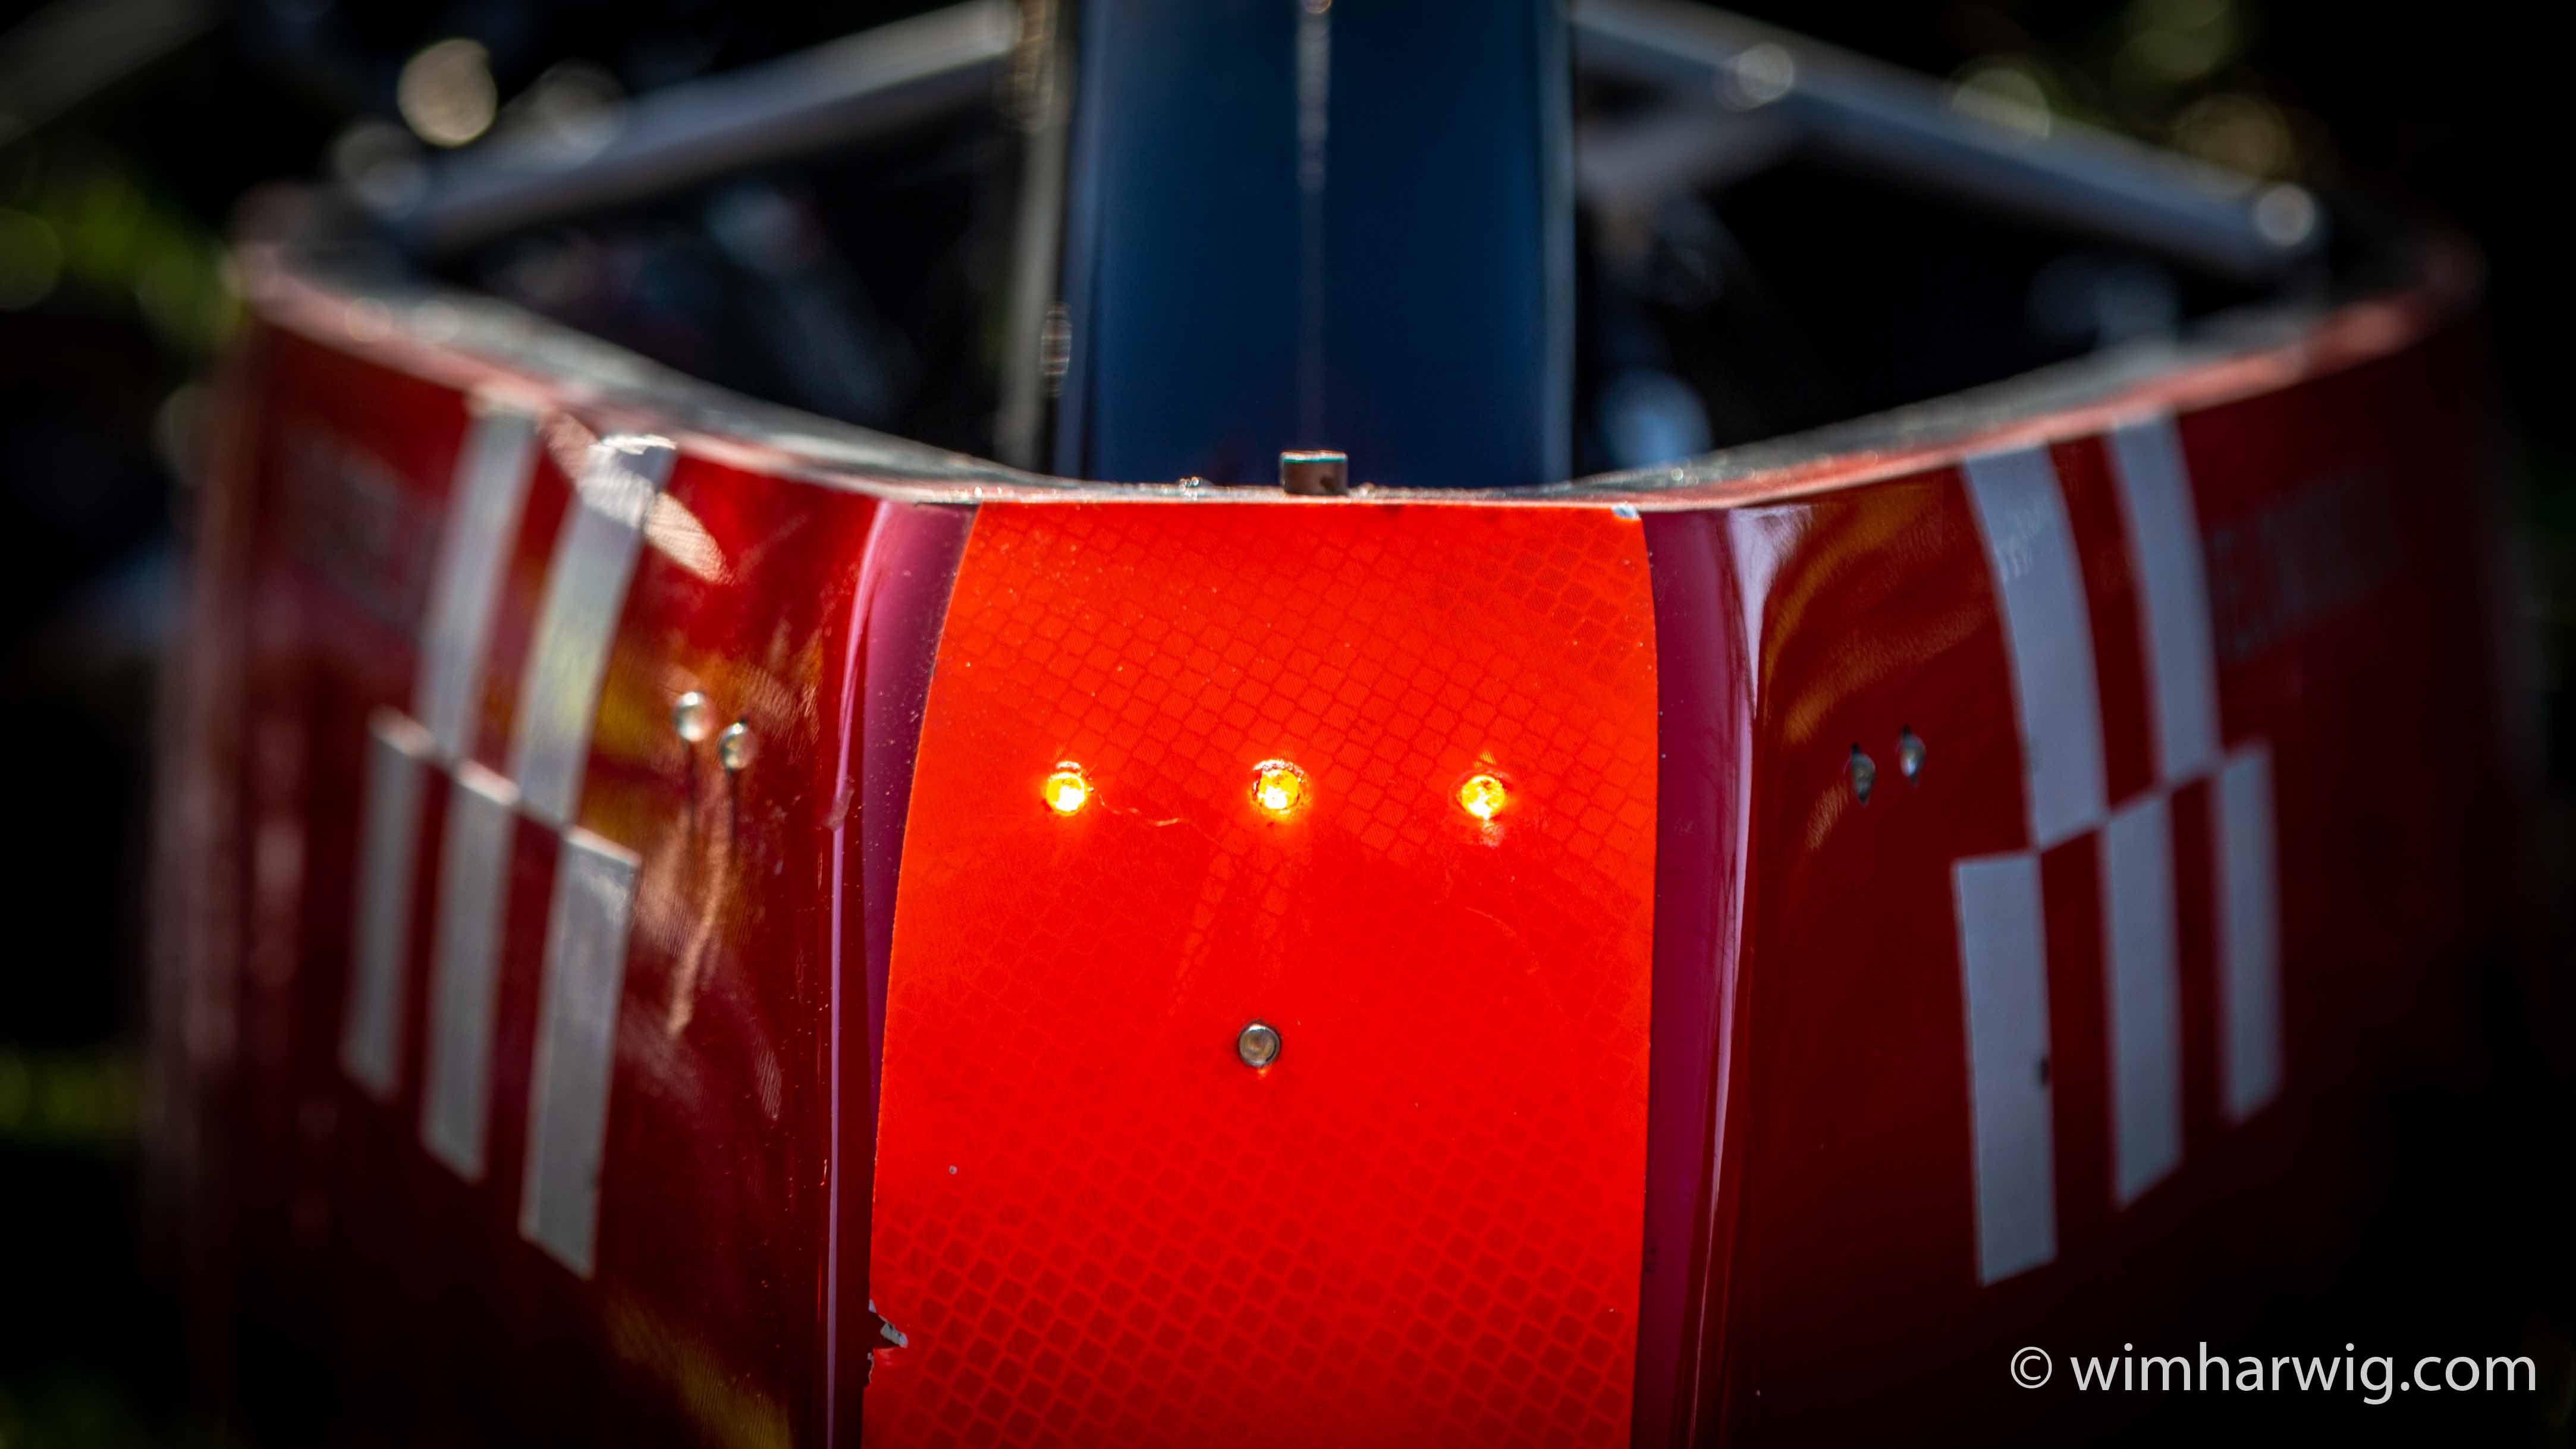
I think the “lid” is important for the sturdiness and rigidity of the entire fairing. The kit is therefore not only intended as a seal, but it is also important to make the two parts as one as possible. Only the small bolts are not enough for this and the carbon around the bolts would suffer too much if the two parts can move easily relative to each other. That is why I prefer to use this method.
However, I am going to place the bolts in an alternative way, so that I can work faster and easier (as soon as I have more time)
LikeLike
I found the tweet , from the mighty Harry Lieben.
“The quicker the top of a velomobile can be taken off (and on again), the easier it is to do maintenance. I now make a layer of silicone glue on the seam and let it harden, before putting on the top. No need to use a knife, only bolt and unbolt the screws.”
https://twitter.com/twilwel/status/1177340043968598018
LikeGeliked door 1 persoon